|
WHEN SAVING IN Pixlr, DO THE FOLLOWING:
1. Click "FILE" 2. Click "SAVE" from the drop down menu. 3. Under "FORMAT", click "PNG". 4. Click "OK" 5. Select where you want to save it. A flashdrive is best. If you don't have one, save it on the Desktop. 6. Give it a name and click "OK". WHEN SAVING IN Inkscape, DO THE FOLLOWING: (YOU ARE GOING TO SAVE YOUR WORK IN THREE DIFFERENT WAYS.) TO SAVE AS AN ".svg" (Inkscape) FILE: 1. Click "FILE" 2. Click "SAVE AS" 3. Select where you want to save it. A flashdrive is best. If you don't have one, save it on the Desktop. 4. Give it a name and click "OK". TO SAVE AS A ".pdf" FILE: 1. Click "FILE" 2. Click "SAVE AS" 3. At the bottom where it says "SAVE AS TYPE", click it and from the choices of file types it gives you, select "PDF". 4. Select where you want to save it. A flashdrive is best. If you don't have one, save it on the Desktop. 5. Give it a name and click "OK". TO SAVE AS A "png" FILE: 1. Click "FILE" 2. Click "EXPORT PNG IMAGE" 3. Click "EXPORT AS..." 4. Select where you want to save it. A flashdrive is best. If you don't have one, save it on the Desktop. 5. Give it a name and click "SAVE". 6. Click "EXPORT" (the one with the green check). OK, so before you get into this assignment, let me advise you that at the very bottom of this post is a link to a tutorial I put up on our YouTube channel that will be EXTREMELY HELPFUL to you as you complete this assignment. PLEASE, take the time to watch it. 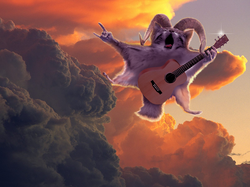 Using your VERY BEST Photo Compositing skills, create an image of an imaginary animal doing something that is a uniquely HUMAN activity (something only people, among all other animals, do) in an unusual place. REQUIREMENTS: 1. Your imaginary animal will be created from images of bits and pieces of four (4) other animals. 2. Your animal will be placed into a background image that is separate from any of the other images you use. 3. Any other objects you put into your own composition (project) must come from images that are separate from any other images you use. 4. DO NOT use .png files or any other type of image that has a transparent or flat, single-colored background. SAVE ALL OF THE IMAGES YOU USE AS FILES THAT ARE SEPARATE FROM YOUR PROJECT. You will have to turn in your project AS WELL AS all of the original images. The image above is my finished project (teacher example). The image below is one in which I combined all of my "source photos'. 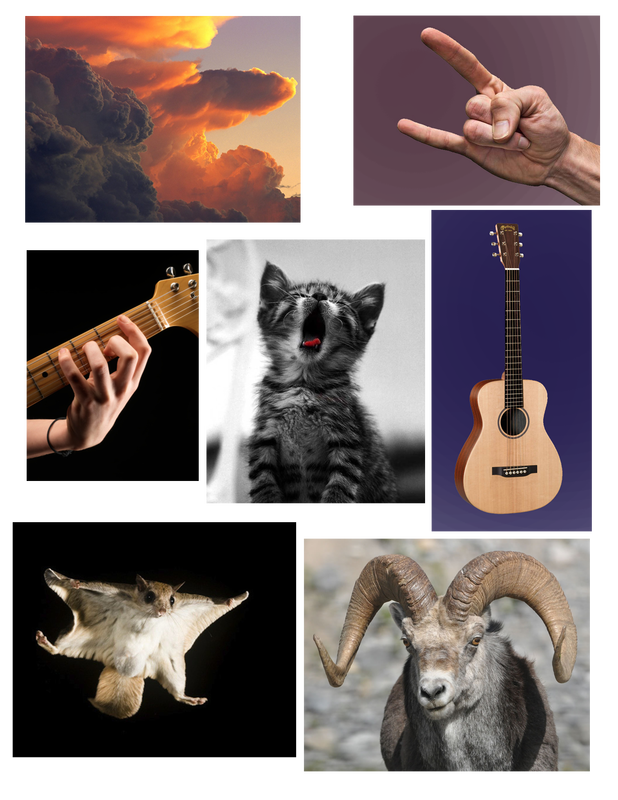 Other Stuff: - Use images that have a pixel value higher than 1000 for the larger size. For example, let's say you find a photo in Google that you want to use. Underneath the photo will be numbers that represent the the number of pixels that the image is made of. If that photo has a pixel count of 232 x 312 (for instance), then it is a pretty low quality image. Don't use it. Choose another image with it's larger number being over 1000... let's say 800 x 1340. The background image should have a larger number above 1800 pixels. - For helpful hints and tips on photo compositing and digital painting (which you will have to do for this project), go to the YouTube channel. In YouTube, search "JLCP Art". Check the tutorials. They will be very helpful. The tutorial on Digital Painting (which is something you're going to need to do for this project) can be found at: https://www.youtube.com/watch?v=gC9oS_gh0SY If the link doesn't take you directly to the video, copy and paste the address in the address bar of your browser. Now, do what you did for ASSIGNMENT #2, BUT do it in Pixlr! To get a good idea of the differences between Raster and Vector editing, complete Assignment #2 using Pixlr instead of Inkscape. For the basic directions for Assignment #2, see the previous post. To add text to an image in Pixlr, do the following: 1. Once in Pixlr, select "OPEN NEW IMAGE" 2. Create a new workspace. I created a workspace that measured 800 x 1000 px. 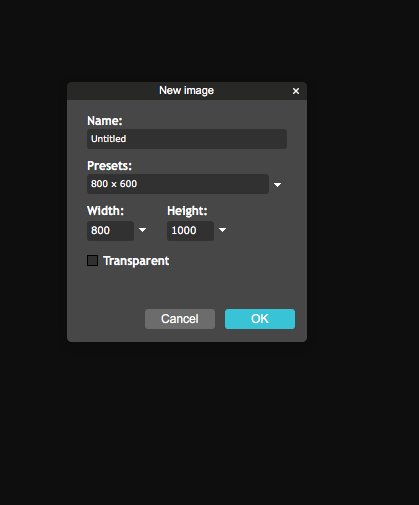 3. Use TEXT tool to create text. It's the white letter "A" in the left-hand toolbox. 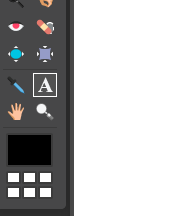 4. When the TEXT tool dialogue box opens, type in your text. Notice there are options for selecting font, style, color and size. 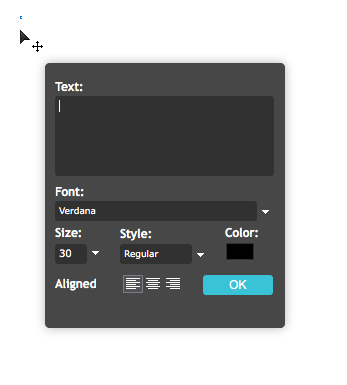 5. What you type will appear on screen.  6. Remember your SELECT tool. Use it (the black arrowhead) to move your text around. 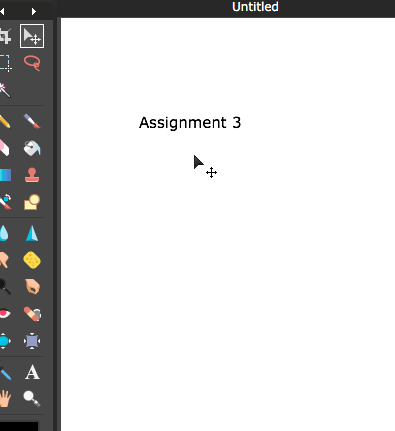 7. Try to add FILTERS and other effects to your text. 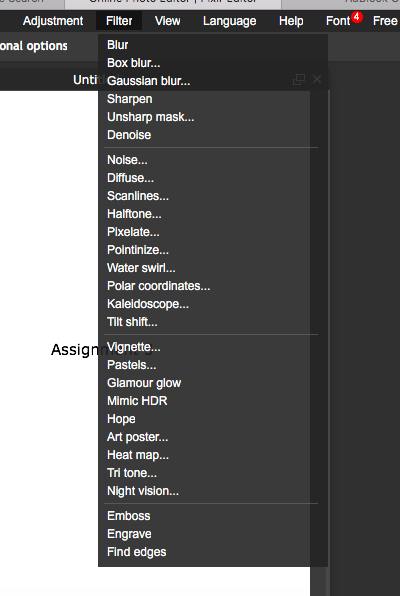 8. If you have difficulty moving, rotating, adding filters to or changing the size, color or positioning of your text, go to Google or other search engine and type something like: "manipulating text in Pixlr" or "adding filters to text in Pixlr" There are many good tutorials out there. Have fun and BE PATIENT. What I'm asking you to do is challenging! ASSIGNMENT #2 fUN WITH fONTS uSING Inkscape, cHOOSE a sINGLE wORD repeated 16 tIMES in oNE dRAWING. each wORD should bE nOTICEABLY dIFFERENT fROM the oTHERS in cOLOR, sTYLE, tEXTURE, positioning, etc. eSPECIALLY tRY the fILTERS. 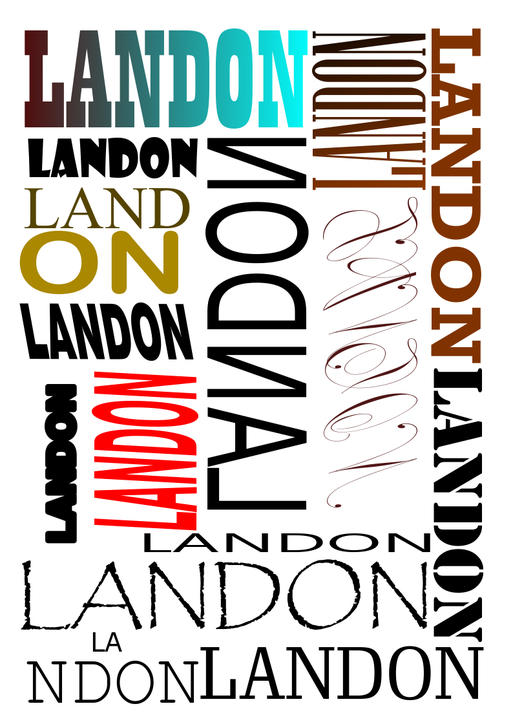 In YouTube, search "JLCP ART" for tutorials on tools and operations in Pixlr. If you don't have headphones or are not somewhere that is quiet enough to be able to hear the audio in these tutorials, click the "CC" button at the bottom of the video frame to enable "Closed Captioning" (translates the tutorial's audio into written dialogue.) See below.:  A small screen shot showing the "CC" button
Create a simple Photo Composite meeting the following requirements: 1. The composite is based on a background layer which will serve as your "visual" background 2. The composite contains two objects apiece taken from three other photos 3. The editing (copying/cutting and pasting) is done with care See the example below: 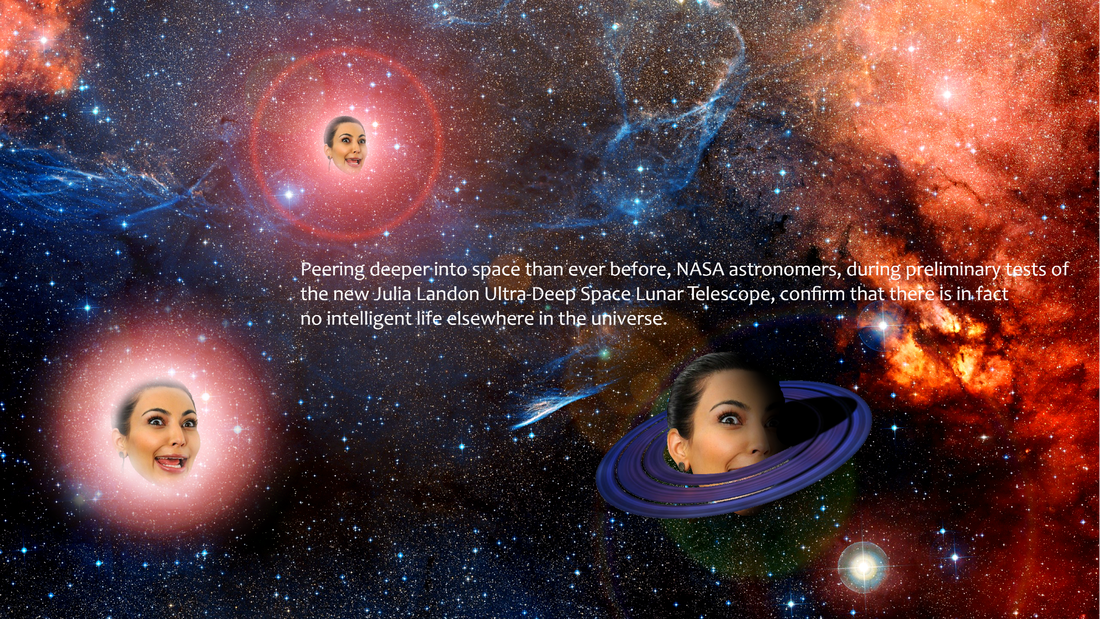 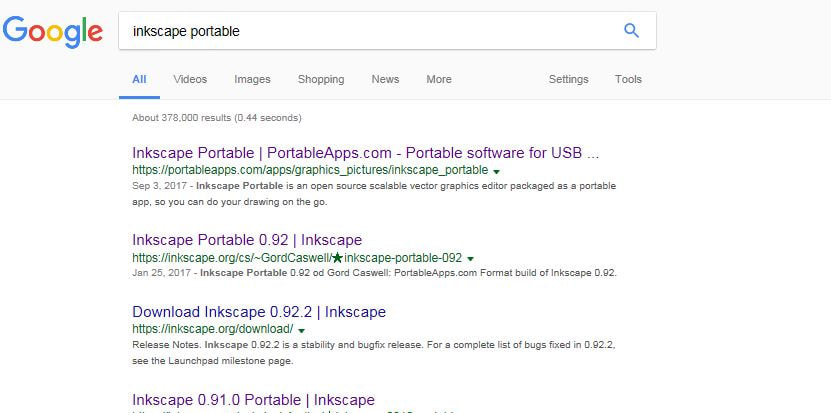 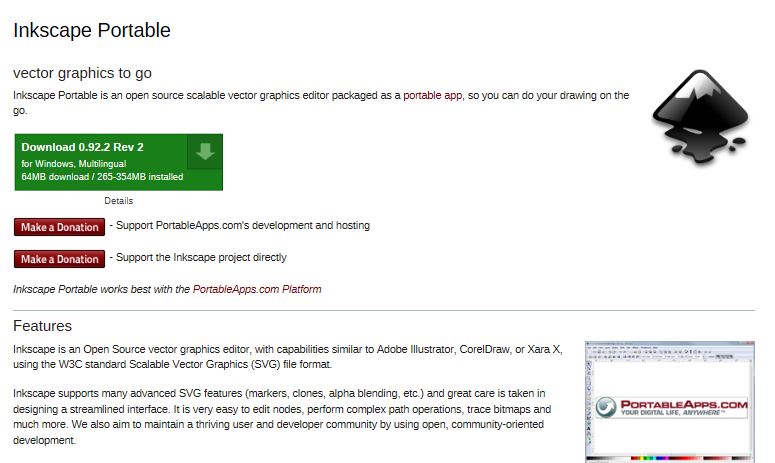 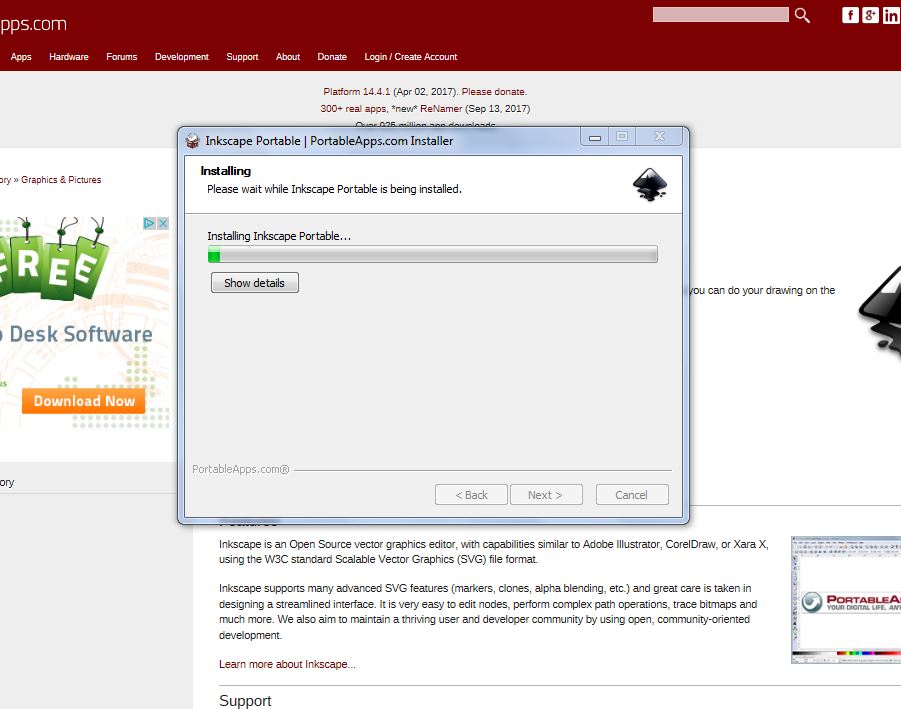 1. Google "Inkscape Portable"
2. Select "Inkscape Portable/PortableApps.com" 3. Click on "Download 0.92.2 Rev 2" 4. Click "Run" 5. Follow the instructions from there. 6. When prompted with "Destination Folder", select "Browse" and then "Desktop" 7. Follow instructions from there |
AuthorDaniel P. Loughran is an artist and art educator who lives in Jacksonville Beach, Florida. Archives
September 2020
Categories |
 RSS Feed
