|
Now, do what you did for ASSIGNMENT #2, BUT do it in Pixlr! To get a good idea of the differences between Raster and Vector editing, complete Assignment #2 using Pixlr instead of Inkscape. For the basic directions for Assignment #2, see the previous post. To add text to an image in Pixlr, do the following: 1. Once in Pixlr, select "OPEN NEW IMAGE" 2. Create a new workspace. I created a workspace that measured 800 x 1000 px. 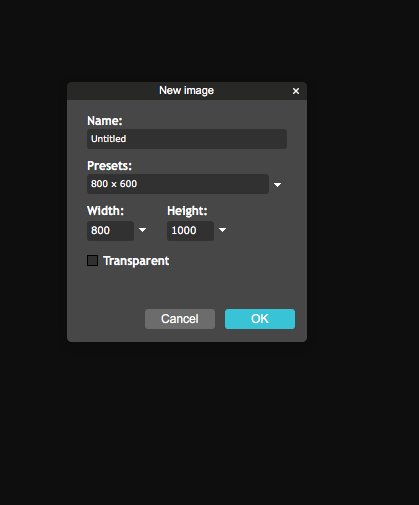 3. Use TEXT tool to create text. It's the white letter "A" in the left-hand toolbox. 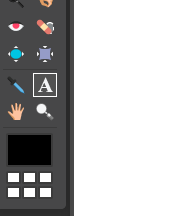 4. When the TEXT tool dialogue box opens, type in your text. Notice there are options for selecting font, style, color and size. 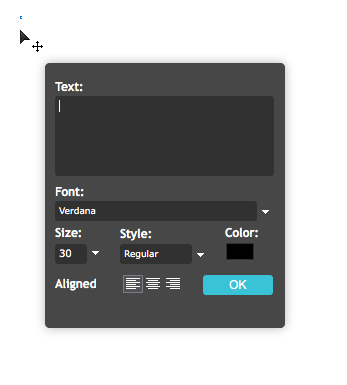 5. What you type will appear on screen.  6. Remember your SELECT tool. Use it (the black arrowhead) to move your text around. 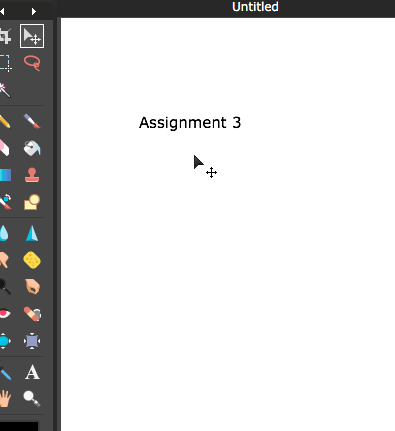 7. Try to add FILTERS and other effects to your text. 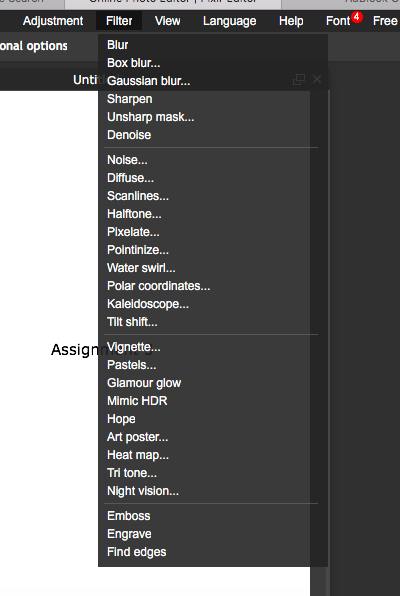 8. If you have difficulty moving, rotating, adding filters to or changing the size, color or positioning of your text, go to Google or other search engine and type something like: "manipulating text in Pixlr" or "adding filters to text in Pixlr" There are many good tutorials out there. Have fun and BE PATIENT. What I'm asking you to do is challenging!
oof
8/27/2018 06:27:57 am
oof
oooooooooooooooooooooooooooooooooooffffffffff
8/27/2018 07:01:52 am
ooooooooooooooooooooooooooooooooooooooooooooooooooooooooooooooooooooooooooooooooooooooooooooooooooooooffffffffffffffffffffffffffffffffffffffffffffffffffffff
hi ooooooooooooooooooooooooffffffffffffffffff
8/29/2018 06:51:16 am
why you saying oooooooooooooooooooooooofffff
Hola
8/29/2018 06:52:51 am
Hola
Ooferinos
9/5/2018 08:57:26 am
OOOOOOOOFERS
hi
9/17/2018 01:39:25 pm
that was me LOL
adck less woman
9/17/2018 01:37:55 pm
hi Comments are closed.
|
AuthorDaniel P. Loughran is an artist and art educator who lives in Jacksonville Beach, Florida. Archives
September 2020
Categories |
 RSS Feed
